
How to Style Your Home with Laminate Wall Panels

PAGE
By PAGE Editor
Do you want to give your house a new, stylish look without putting in much effort? Adding texture and color to any room quickly and cheaply with laminate wall panels is a great idea. If you want to make your home look beautiful and trendy, this blog will show you how to use laminate wall panels.
1. Prepare Your Walls
As advised by Beyond Property Management solutions, make sure the walls are clean and straight before you put up laminate wall panels. Do not leave any nails, hooks, or old wallpaper behind. Clean up any dirty or oily spots on the panels so they stick well.
Fill holes or cracks in the walls with spackle and sand them smooth. Panels stay in place and look attractive when the walls are dry.
Make sure the walls are level. Make a note of trouble spots with a level if there are big dips or bumps. Sand them down or add thin pieces of plywood to fix them. For a good finish, panels need a flat base.
2. Plan Your Panel Layout
Pay close attention to how wide and tall the wall is. Figure out whether the panels will go across or down. Going across can make the walls look higher, while going down makes the room feel cozier.
Draw the plan on paper or use a pencil to make lines on the wall. Plan the panel placement so cuts aren't visible, like in the wall's center. If the walls aren't square, move the starting point so that the panels stay straight.
3. Gather Necessary Tools and Materials
Get all of the tools you'll need before you start. Basic tools include a level, pencil, saw, measuring tape, and either glue or nails. There is no harm done when you use a rubber mallet to tap panels into place. Glasses and gloves are types of safety gear that protect your hands and eyes.
If you make a mistake or need to fix something later, buy extra panels. The project goes smoothly and without stress when everything is ready. Don't stop in the middle to look for tools!
4. Install the Laminate Wall Panels
Start putting it together in one corner by pressing the first piece against the wall tightly. Keep it straight with the level. Follow the manufacturer's advice for how to use adhesive or nail panels. Put tongues into holes on panels and press down hard to lock them together.
Row by row, work your way across the wall. Cut the pieces to fit around edges or switches with a saw. If you want to add on later, you can cover the small gap between the floors and ceilings with trim.
5. Finishing Touches
To hide gaps, add trims or molding to the panels' sides and corners. This approach makes the wall look neat and slick. For extra style, paint or finish the trim to match the panels or make them stand out.
Use a wet cloth to gently wipe the panels clean to get rid of dust or sticky spots. Look for parts that aren't attached properly and quickly fix them. Putting up hooks or shelves on the new wall can make it look good and be useful.
6. Styling Tips for Different Rooms
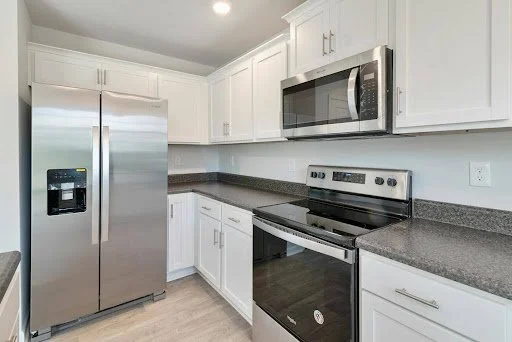
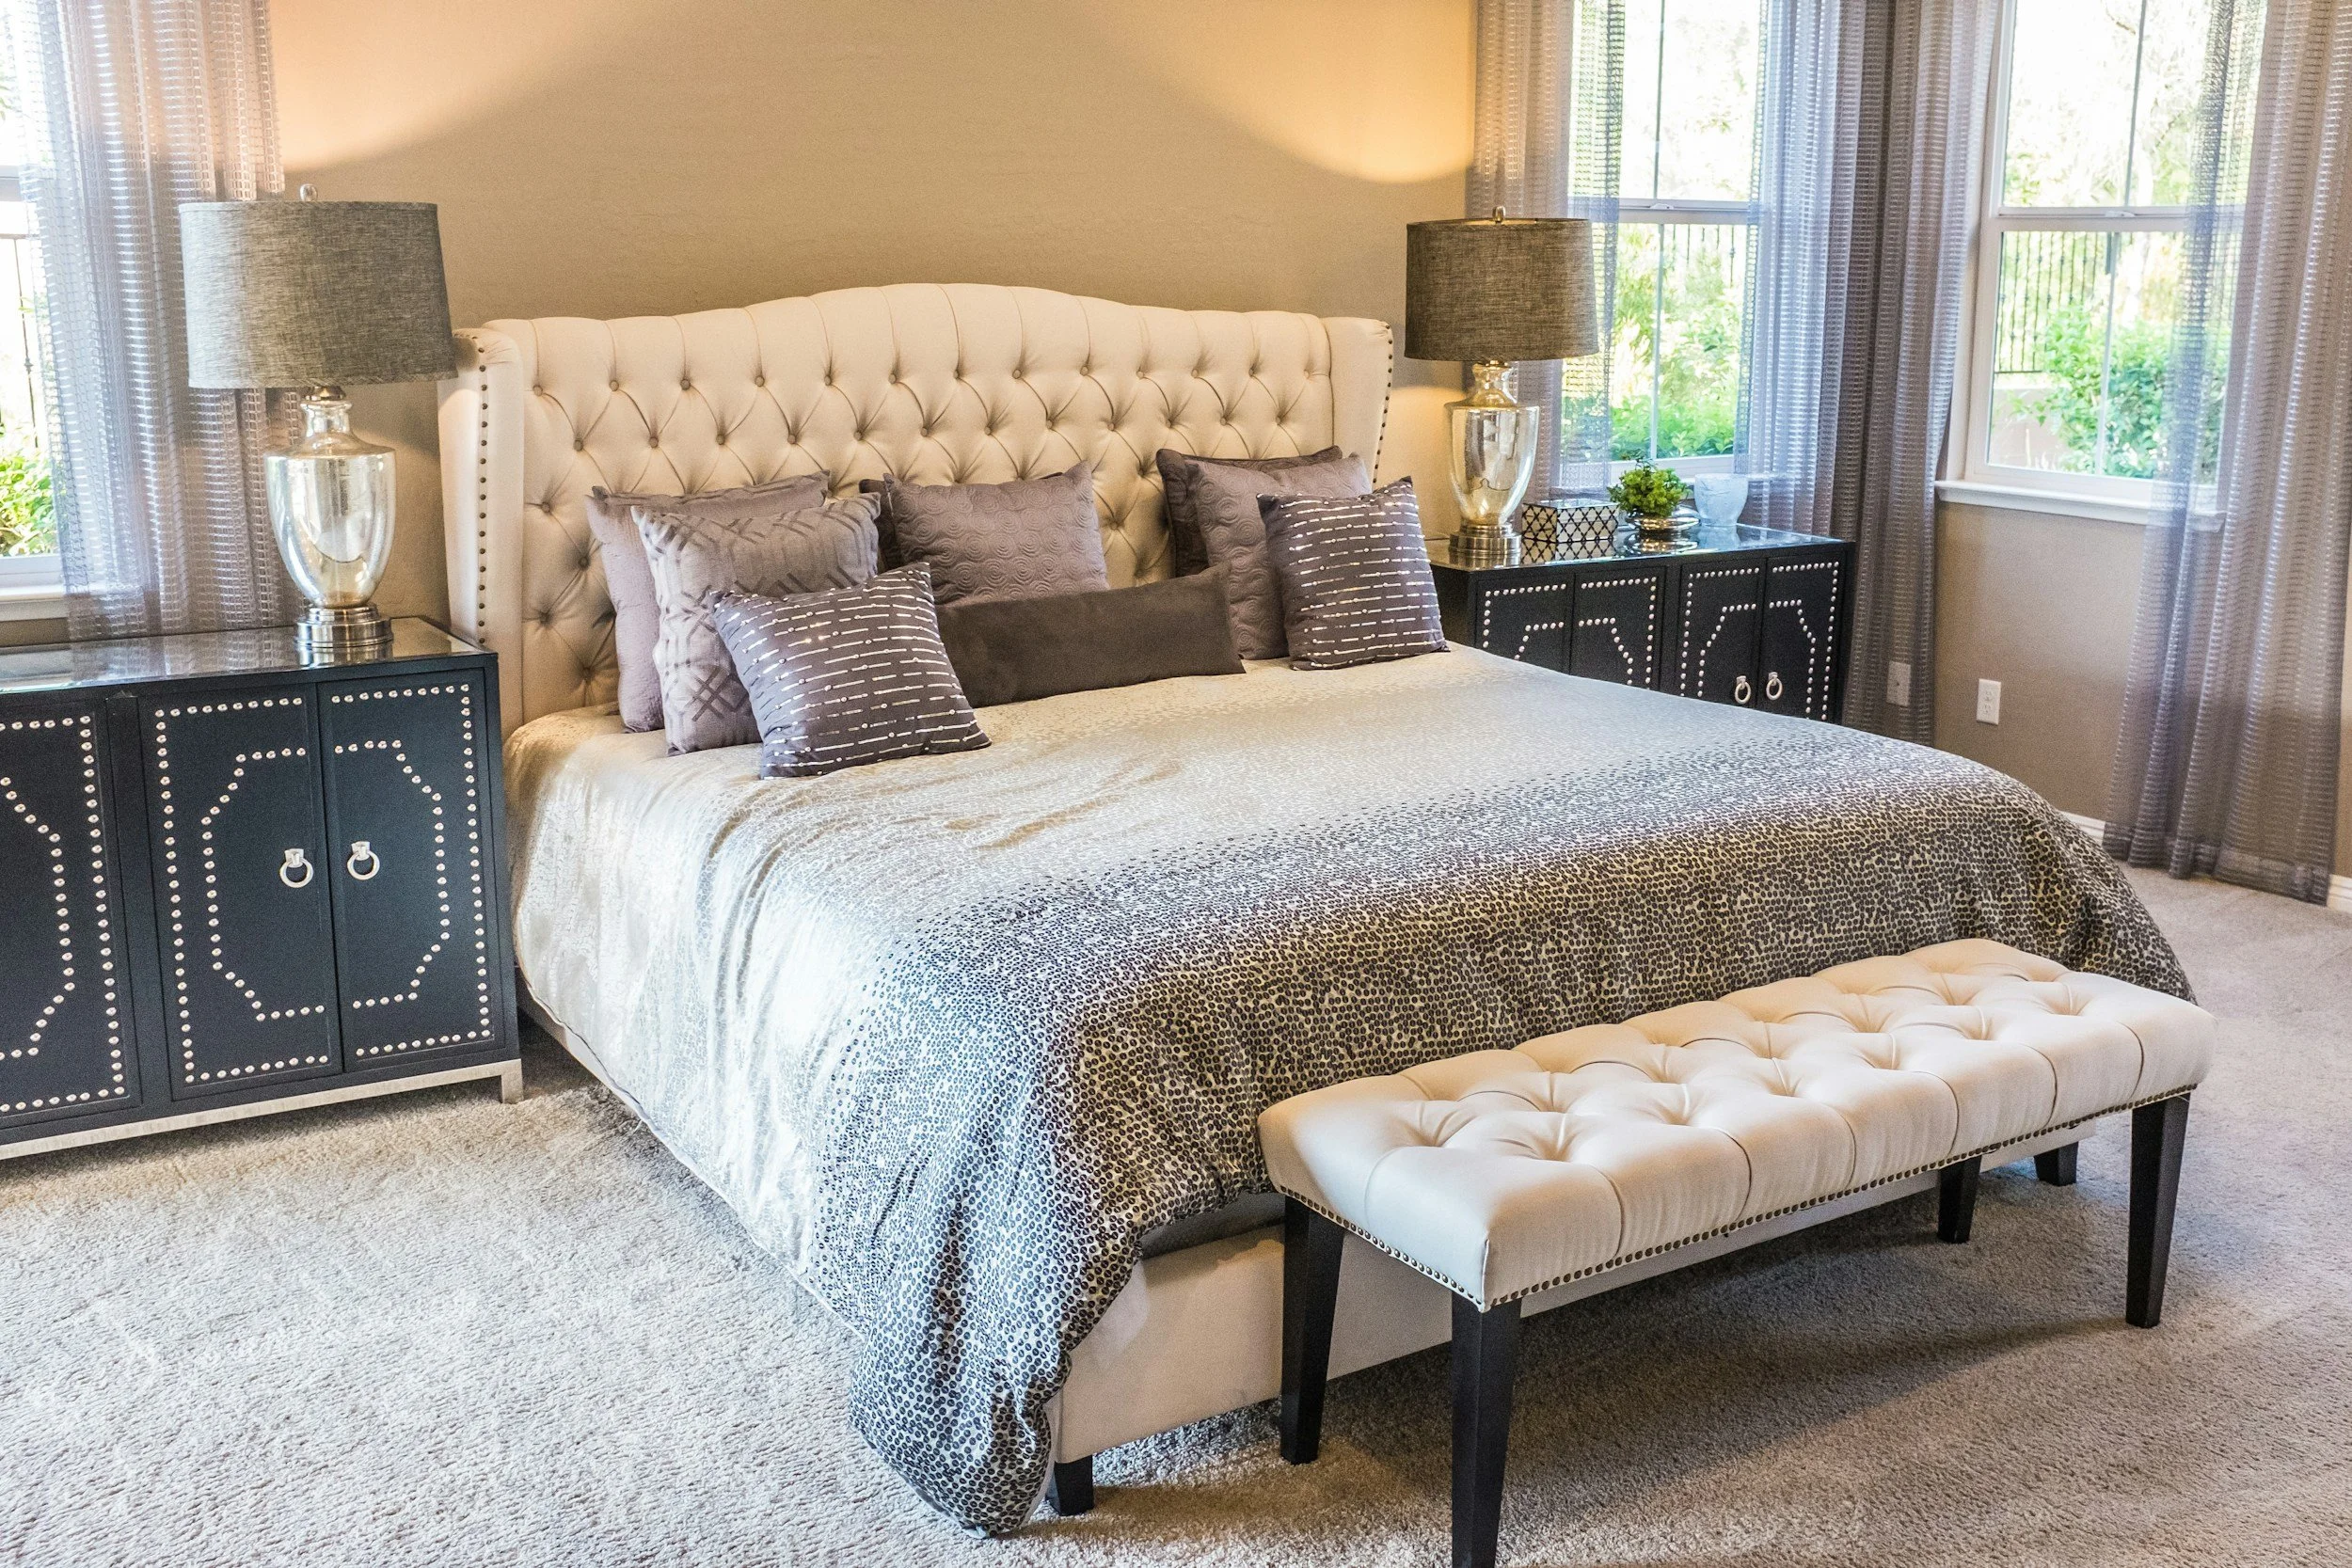
Pick out panel colors and patterns that go with the mood of each room. Light wood tones make living rooms brighter, and dark panels make beds cozier. Matte finishes look great in cozy rooms, while glossy finishes are great for kitchens because they are easy to clean.
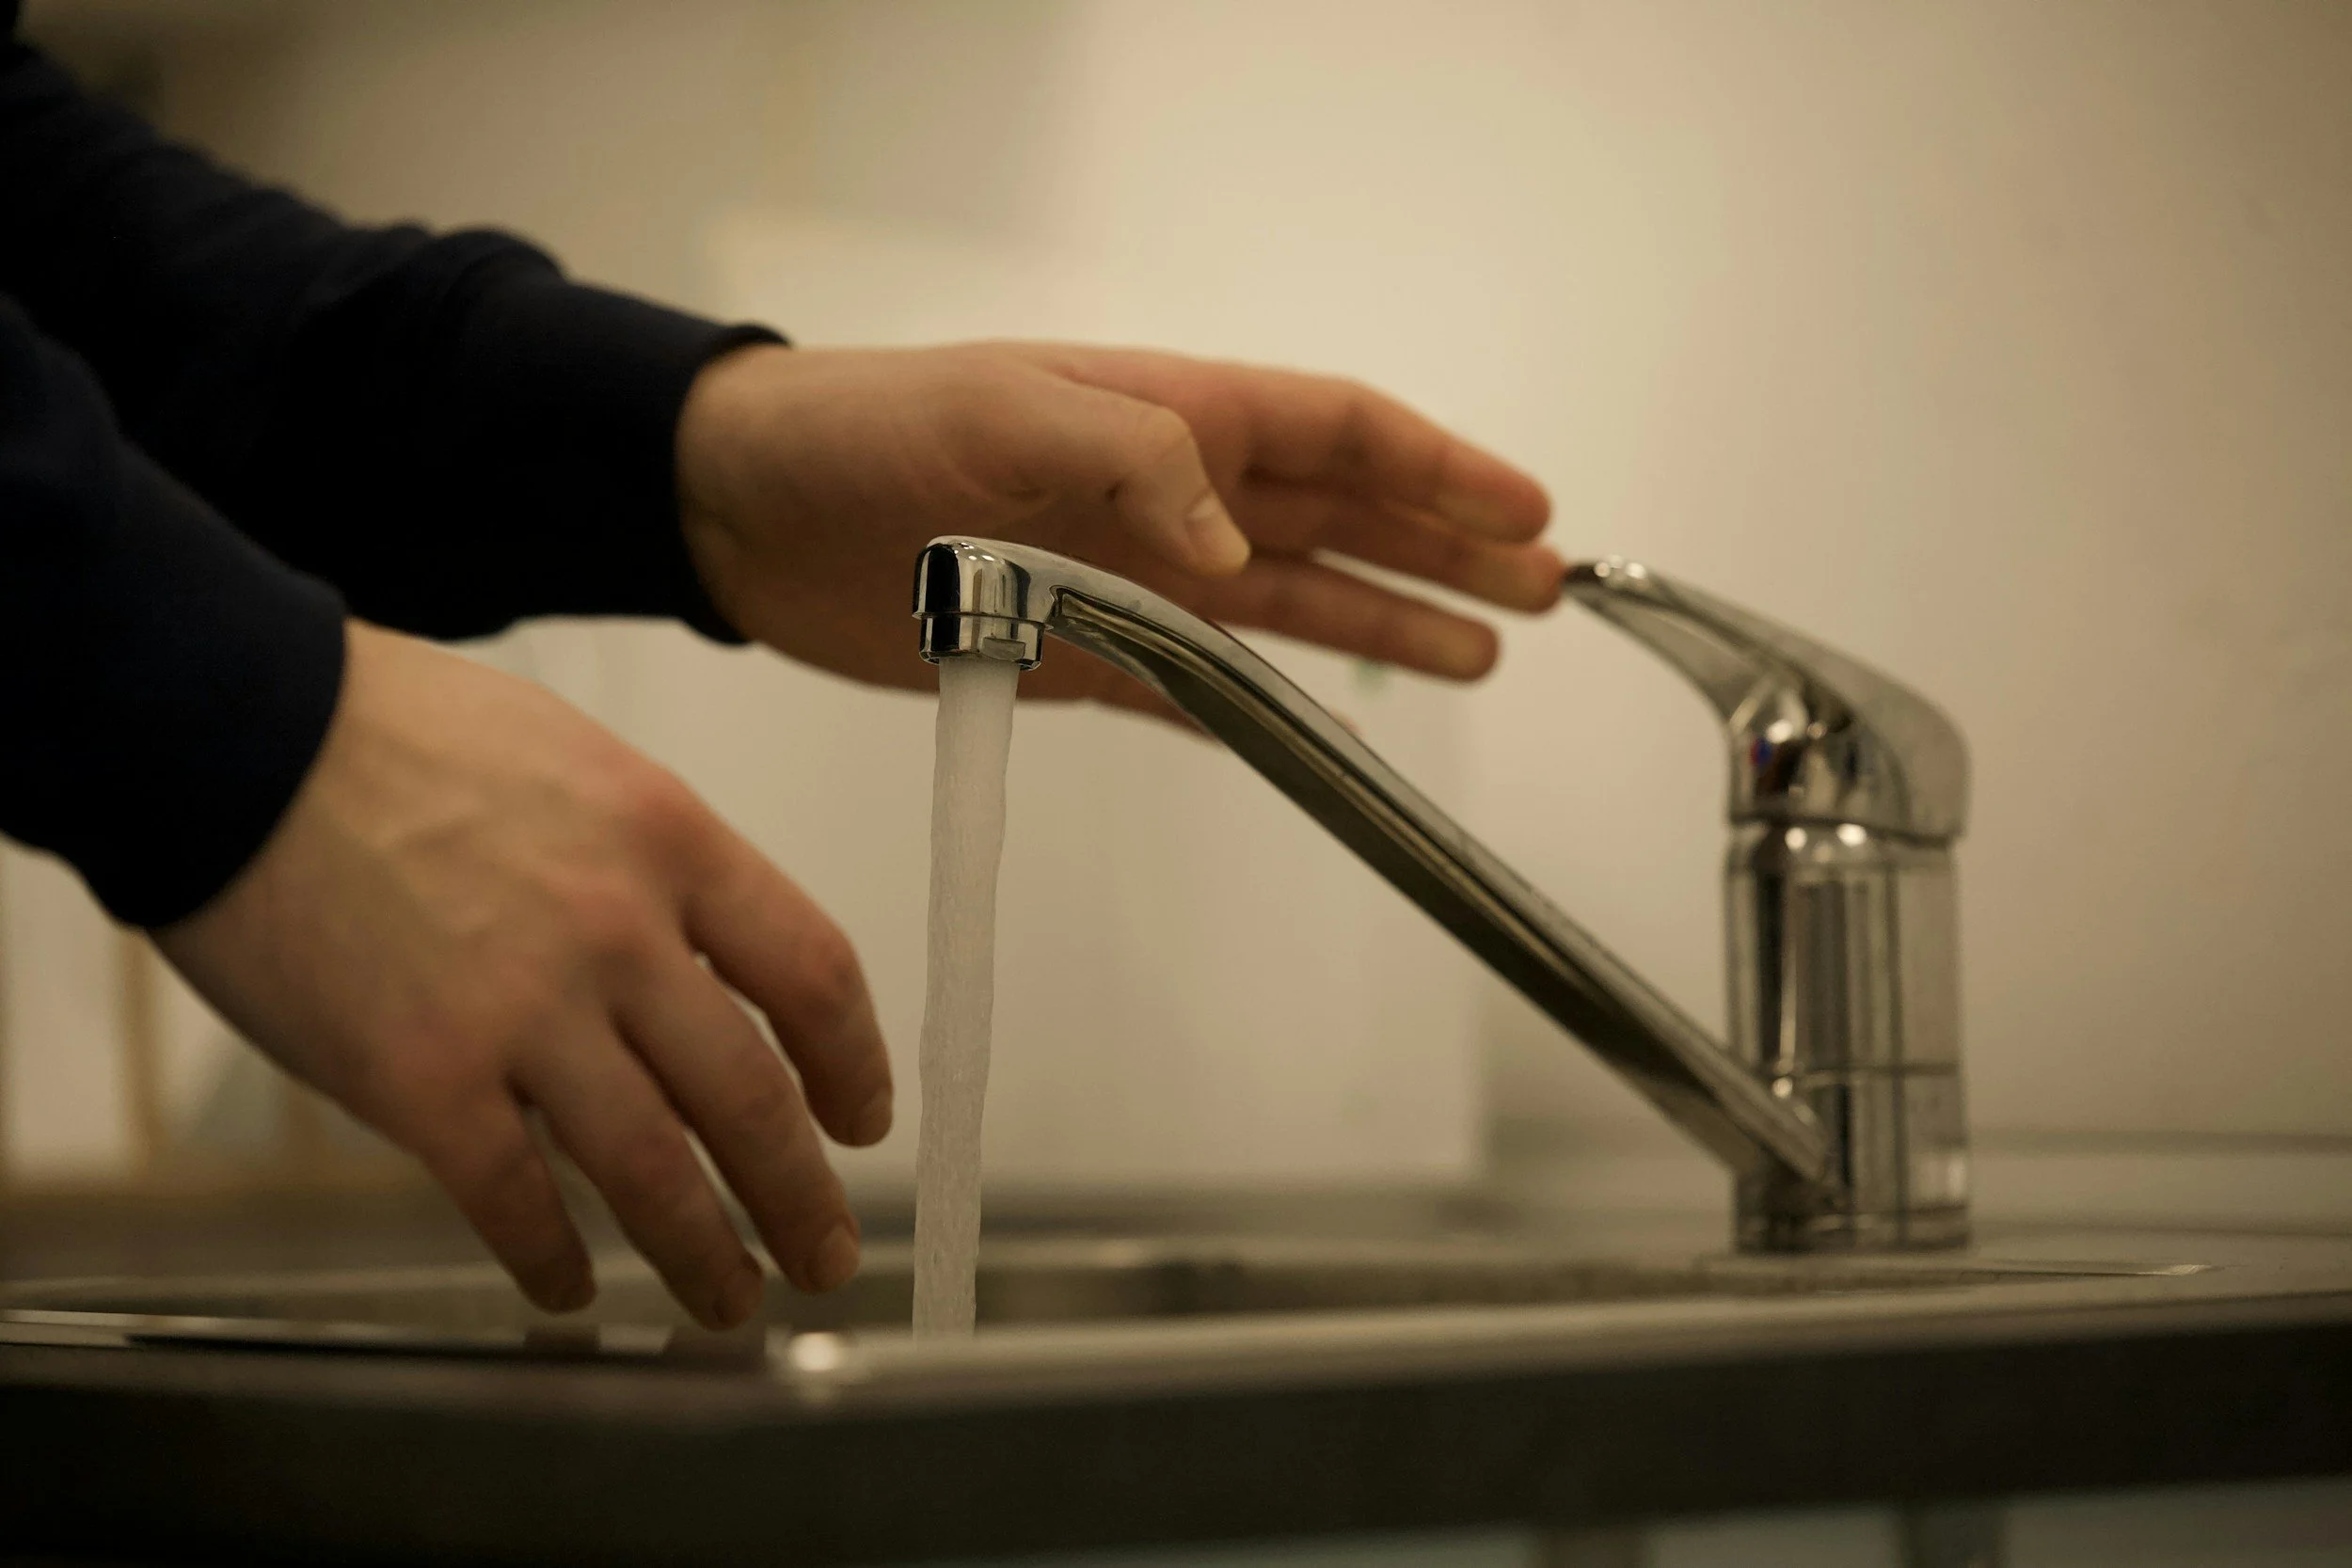
To make it more captivating, mix panels with plants, art, or shelves. Select panels resistant to water damage for baths.
Transform Home Interiors
Take advantage of the chance to make your space look new again and make your home truly show your style. With the right choices and installation, it's easy to turn the inside of your home into a place that is both inspiring and friendly.
HOW DO YOU FEEL ABOUT FASHION?
COMMENT OR TAKE OUR PAGE READER SURVEY
Featured

When investing in quartz countertops, choosing the right warranty and care package is just as important as selecting the color and finish.