
Elevate Your Lash Game: Unleash Beauty With Home Extensions

PAGE
By PAGE Editor
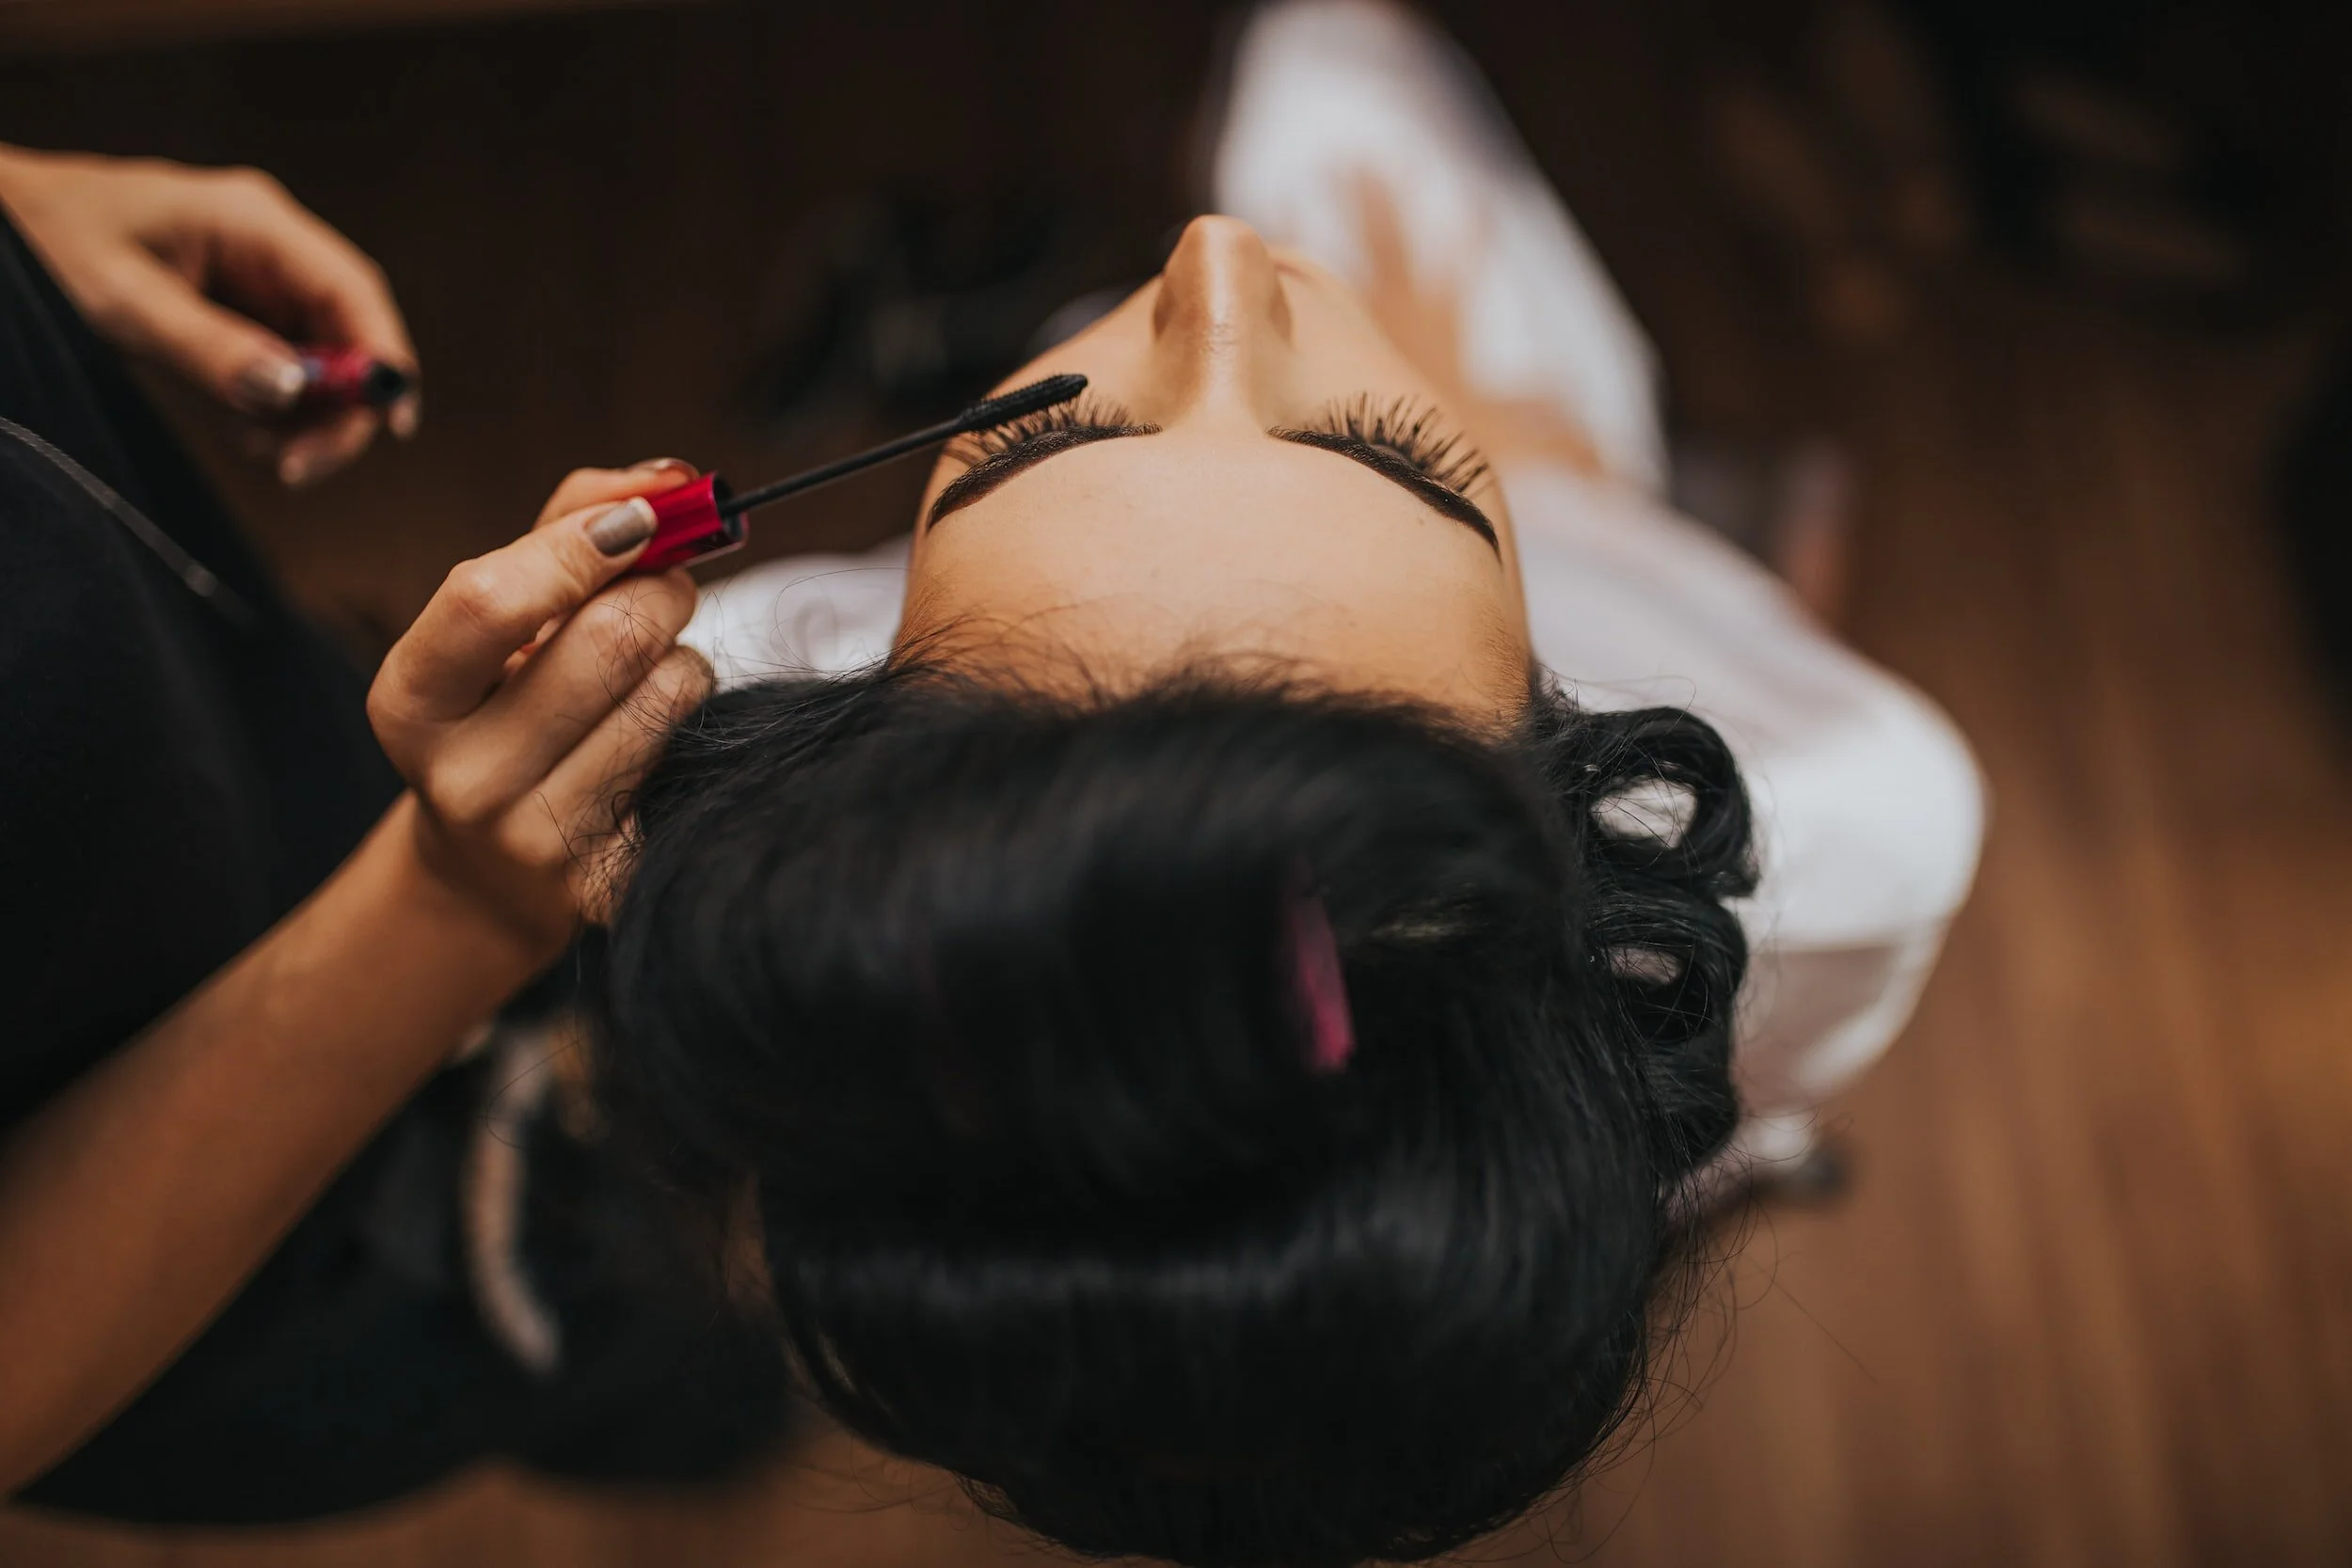
The beauty world is constantly evolving, and one trend that's taken center stage in recent years is home eyelash extensions. More and more individuals are opting to skip the salon and bring the glamor right into their own homes. They're trading in their mascara wands for lash adhesive and trays of individual lashes to get a bolder, more personalized look.
They're trading in their mascara wands for lash adhesive and trays of individual, cluster lashes to get a bolder, more personalized look.
But why are people choosing to try DIY lash extensions? The answer lies in the perfect blend of convenience, personalization, and cost-effectiveness. Plus, with high-quality DIY lash extensions from Lilac St., the process is more accessible and user-friendly than ever before.
In this blog post, we'll guide you through everything you need to know about home eyelash extensions. From understanding the different types available to a step-by-step guide on how to apply them, we've got you covered. So buckle up, beauty enthusiasts! It's time to elevate your lash game and unleash your inner beauty expert!
Understanding Different Types of Eyelash Extensions
As you embark on your DIY lash journey, you'll find that there's no one-size-fits-all when it comes to eyelash extensions. There are different materials and lengths, each offering a unique look and feel. Knowing what's out there will help you tailor the application to your personal style and comfort level.
Mink lashes
These are popular for their softness and fluffy look, mimicking the natural lashes almost perfectly. While they can be a bit more expensive than other types, the natural, lightweight feel they offer is worth every penny for many lash enthusiasts.
Synthetic lashes.
If you're after a dramatic, stand-out look, these could be your go-to. Synthetic eyelash extensions are usually darker and more glossy than mink ones. They hold their curl exceptionally well, and due to their sturdiness, they maintain their shape for a longer period.
Silk lashes.
These strike a balance between mink and synthetic lashes. They're less glossy than synthetic ones but are slightly more dramatic and denser than mink lashes. Silk lashes are a fantastic choice if you're aiming for a voluminous look without the shiny finish of synthetic lashes.
Tools and Materials Needed
Venturing into the world of DIY lash extensions means familiarizing yourself with some key tools and materials. With the right tools in your kit, the process becomes much smoother and more enjoyable. Here’s what you need.
First, you'll need lash extensions. Depending on your preference, as discussed earlier, you can select from mink, silk, or synthetic lashes. Make sure to choose a pack with various lengths to mimic the natural variation in your own lashes.
Secondly, lash adhesive is vital. This is the 'glue' that holds the extensions to your natural lashes. Ensure that the adhesive you choose is high quality, long-lasting, and suitable for your skin type.
Next, a good set of tweezers is indispensable. Two types are particularly helpful: straight tweezers for separating your natural lashes and curved tweezers for applying the extensions. Professional tools give you more precision and control, making the process easier.
You'll also need a lash extension primer. This product prepares your natural lashes for the adhesive and helps the extensions bond more effectively.
Lastly, you'll want to have a lash mirror. This tool allows you to see your lashes from different angles, ensuring the extensions are placed correctly and look natural.
Preparation Before Applying Lashes
Proper preparation is the foundation of a successful eyelash extension application. So, let's get you prepped and ready to achieve lash perfection.
Start with ensuring that your eye area is clean and makeup-free. Even the tiniest bit of mascara residue can hinder the adhesion of the lash extensions. You can use a gentle oil-free makeup remover to cleanse your lashes and eyelids. Make sure your lashes are completely dry before proceeding.
While at it, don’t forget to cleanse your tools too, especially the tweezers. They need to be free of any oil or residue. You can wipe them clean with alcohol wipes to sanitize them thoroughly.
Setting up your workspace is just as important. Choose a comfortable, well-lit space where you can sit, preferably with a table in front of you. Layout all your tools and materials within easy reach, so you don't have to scramble around looking for something mid-application.
The last bit of preparation involves priming your lashes with the lash primer. It removes any oil or residue left on your lashes, ensuring they're ready for the extensions.
Step-by-Step Guide to Applying Home Eyelash Extensions
Now that you're all set, it's time to get into the heart of the process: applying your lash extensions.
Isolate a Natural Lash: Using straight tweezers, isolate a single natural lash. It's important to apply the extension to one lash at a time to ensure a natural look.
Pick up an Extension: Use your curved tweezers to pick up a single lash extension. Hold it in the middle for the best control.
Apply Adhesive: Dip the base (non-tapered end) of the lash extension into your adhesive. A tiny bead should stick to the base. You don’t need a lot; a little goes a long way.
Attach the Extension: Carefully bring the lash extension to your isolated natural lash. Attach it approximately 1 mm away from the eyelid to avoid any contact with the skin. The lash extension should be placed on top of your natural lash, with the base pointing upwards.
Secure the Lash: Hold the lash extension in place for a moment to allow the adhesive to bond with your natural lash. The adhesive will dry on its own - there's no need to blow on it or use any kind of fan.
Continue the Process: Continue this process, alternating between eyes and working on different sections. This will give the adhesive enough time to dry on the lashes you've already done as you move to new sections.
Remember, patience is key during this process. You're essentially creating a piece of art, lash by lash. Don’t rush - instead, enjoy the process and look forward to the beautiful results.
HOW DO YOU FEEL ABOUT FASHION?
COMMENT OR TAKE OUR PAGE READER SURVEY
Featured


For Autumn/Winter 2026, Saul Nash’s Masquerade explores clothing as a transformative mask, merging tailoring and sportswear to empower fluid identity, movement, and self-expression through performance-led design.